| |
Replacing Rear Shock Absorbers
on the Seat Ibiza Mk4
Thinking of changing the rear shock absorbers on your Seat Ibiza Mk4 ?
This guide shows you how!
DISCLAIMER: Follow this guide at your own risk. I accept no responsibility for any injury or damage that
may occur, or for any mistakes I might have made. If in doubt - get a professional to do the job !
Tools Required
The following tools will be required (see photos for more information):
- Axle stands x 2
- Jack (you could get away with the car jack, but a trolley jack is recommended)
- 16mm combination spanner
- 16mm socket, extension bar, and ratchet
- Molegrips or small adjustable spanner
How to do it
- Ensure the engine is off, the handbrake firmly applied, first gear is selected, and the front wheels chocked.
- Jack up the rear of the car on both sides, and support securely with axle stands.
- Remove both rear wheels.
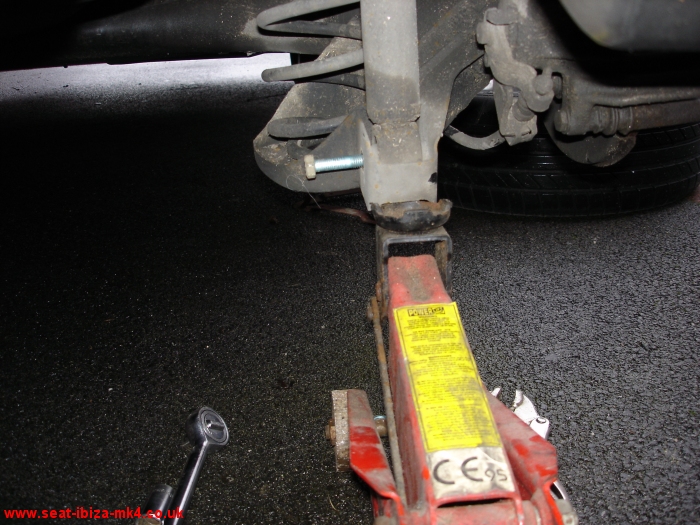
- Using a jack, just take the weight off the rear suspension arm on one side.
- Remove the lower bolt from the shock absorber, as in the following photo:
- Lower the jack and move it under the second shock absorber, then just take the weight of the suspension arm.
- Remove the lower bolt from the second shock absorber.
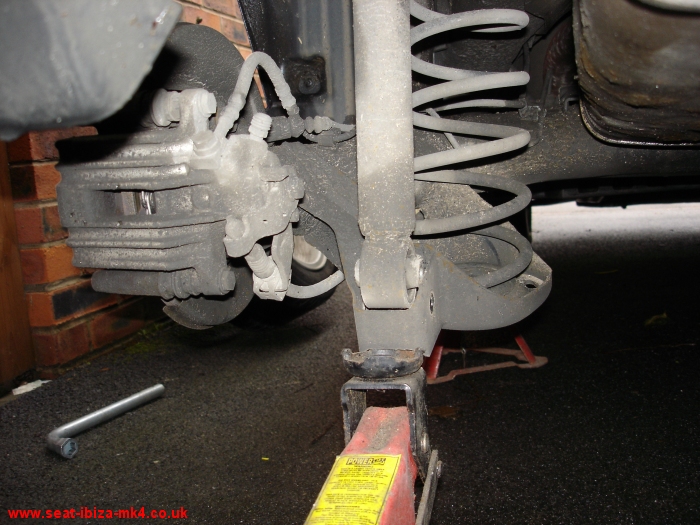
- Now lower the jack very slightly, until the bottom end of the shock absorber can swing free from the suspension arm,
as in the photo:
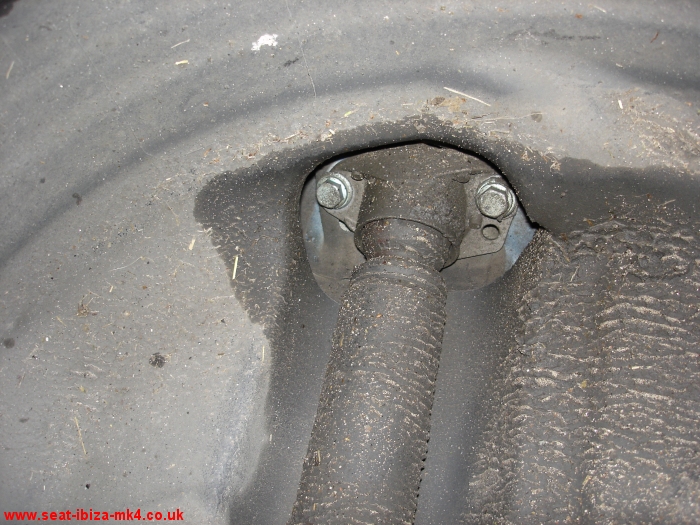
- Using a 16mm socket, extension bar and ratchet, undo the two bolts at the top of one shock absorber, as in the following
photo:
- Before removing the shock absorber, swing the bottom end free of the suspension arm, then lower the unit off of the
car.
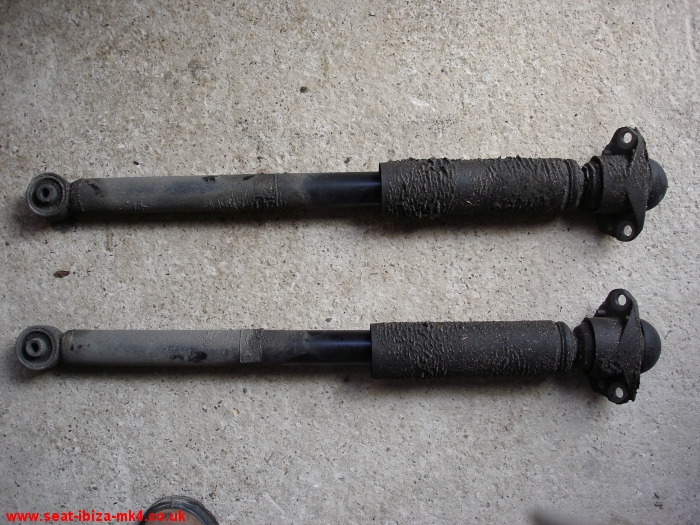
- Repeat for the second shock absorber. You should now have both units removed from the car, as in the photo:
- The top mounts and dust covers need removing from the old units. First, pull off the top plastic caps, as in the photo:
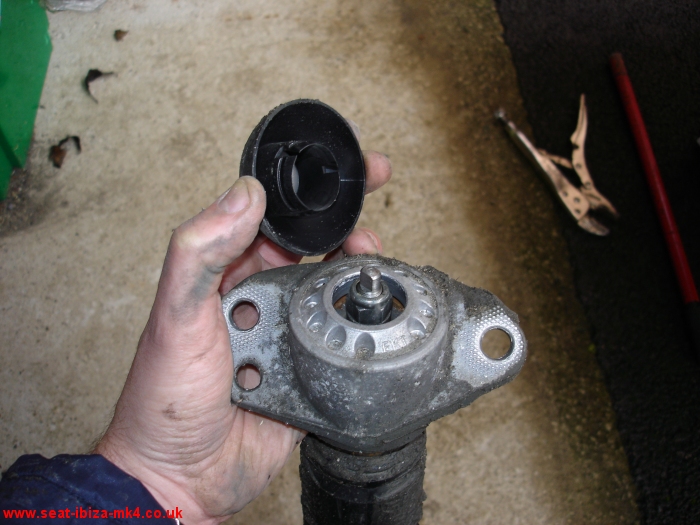
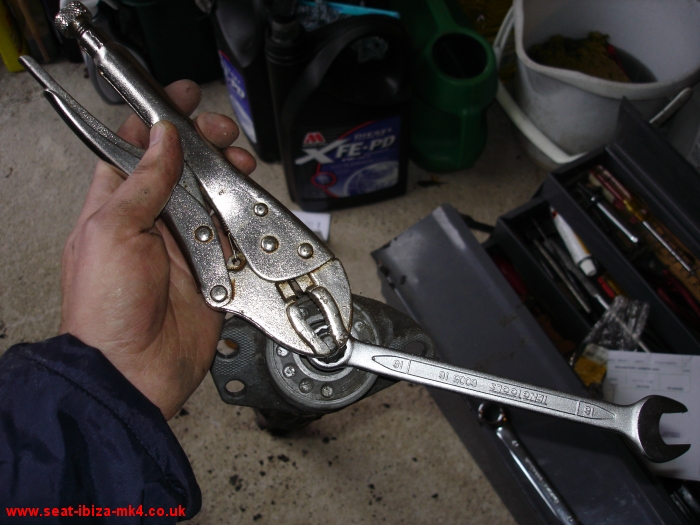
- Removal of the top mount requires the top nut to be undone from the shock absorber rod.
This is done by holding the rod by it's flattened end using molegrips or a small adjustable spanner. The nut is loosened
with a 16mm ring or combination spanner, then the top mount and dust cover can be pulled off of the rod. Repeat for the
second unit.
See the following photo:
- Now the parts should all be separated, and ready for fitting to the new shock absorbers, as in the following photo:
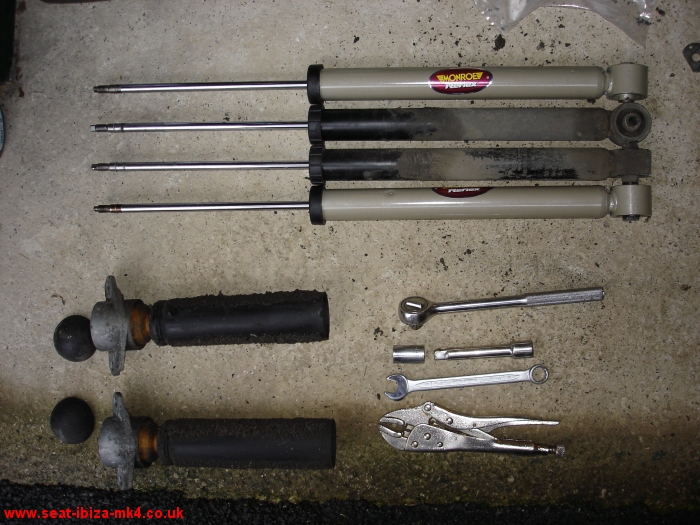
- Fit the top mounts and dust covers to the new shock absorbers, and tighten the top nuts securely.
- Refitting of the units to the car is the reverse of the removal procedure.
- Refit the wheels securely and lower the car to the ground.
- Make a final check that everything is refitted and securely tightened.
|
|